Module 1 Project 2: Traffic Light
All cars require some way to keep roads safe, that is where these lights come in!
We will be utilizing the following topics:
- Parts
- Material
- BrickColor
- Anchoring
- Scripting
Making the Traffic Light
The Essentials
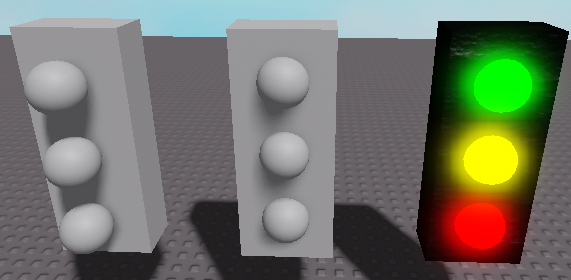
- Get 1 part and 3 spheres (red in image).
- Add BrickColor and Material (blue in image). To make the lights glow, choose the Neon material.

- Make the traffic light.
- Place them in a similar fashion as shown below.
Anchoring and Naming
- Select all the parts and on the or
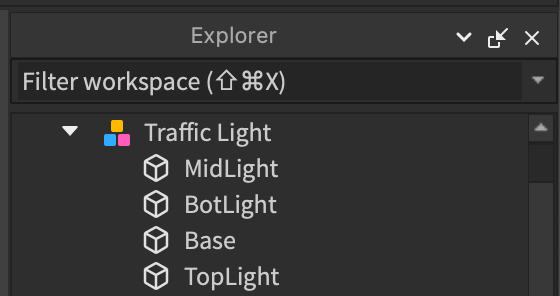
Hometab's (the picture below showsModel), click onHome(red in image).Anchor
- Select all pieces at the same time and press Ctrl+G on Windows, or Cmd+G on a Mac to group them.

- Go ahead and name every part, organization is important. Also, it will get students into a good habit! It is suggested to name them: "Base", "BotLight", "MidLight", and "TopLight", respectively.
The Script
- We will be keeping track of the three lights and repeatedly flash them one by one.
- Add a script inside the and add the following code:
Group
Note: If you didn't name your parts TopLight, MidLight, and BotLight, rename the respective lines in the code to the correct names (they can't all be
PartIf you want to customize your traffic light colors, open the Color button and hover over the color you want to see the name.