Web 1 Review, Intro to Emmet, Browsers
Student Objectives
- Redevelop familiarity with basic HTML and CSS (not all material from Web 1 will be covered here, only enough for most students to become comfortable with Bootstrap).
- Begin writing HTML code more quickly and intuitively through the use of the Emmet abbreviations tool.
- Get comfortable with "Inspect" and some basic developer tools on web browsers.
Setup
Students generally have two options for their course IDE: VSCode and Replit. The setup process is given below, though much more detail will be given for VSCode as students may find that interface more intimidating.
New Project in Replit
After creating your student's replit account, you should see a "Create" section like what is shown below:
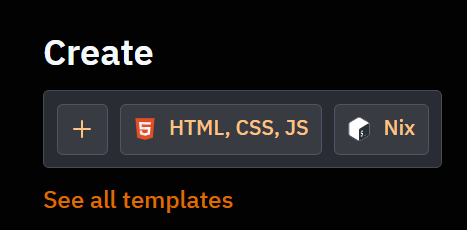
Assuming the HTML, CSS, JS button doesn't show up like in the screenshot above, click the '+' button instead. Then you'll see this prompt:
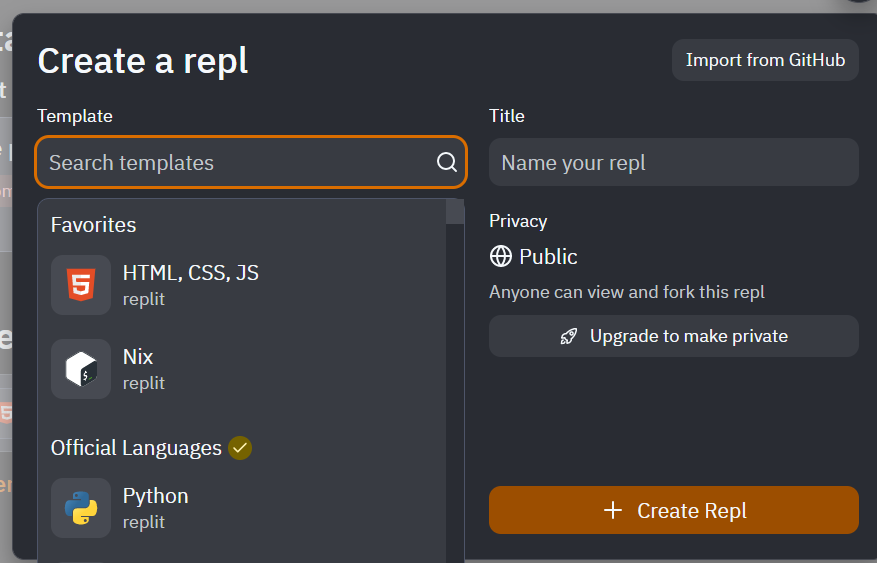
On the left side, we will always be selecting the HTML, CSS, JS template. On the right, choose your title and then press the + Create Repl button on the bottom right.
Get comfortable with the interface below:

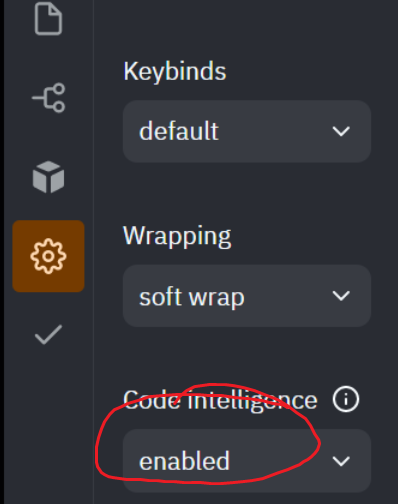
To ensure that Emmet will work as intended, go to the Settings (Gear) icon on the far left and ensure that "Code Intelligence" is set to "enabled".
New Project in VSCode
A student may prefer to work with VSCode if he or she
- wants to utilize a more industry-grade IDE during the course.
- is comfortable with version control and wants to utilize Git.
- can't access replit or wants to do his or her work locally for the course.
The remainder of this page will assume you have already completed installation of VSCode. You really just need to download the version appropriate for your system, and then select all the default-selected options in the setup wizard. If you would like some sort of reference for installation steps, I've found this video to be the most helpful, as it shows steps for Windows and MacOS users.
You should start out with a welcome page like this:
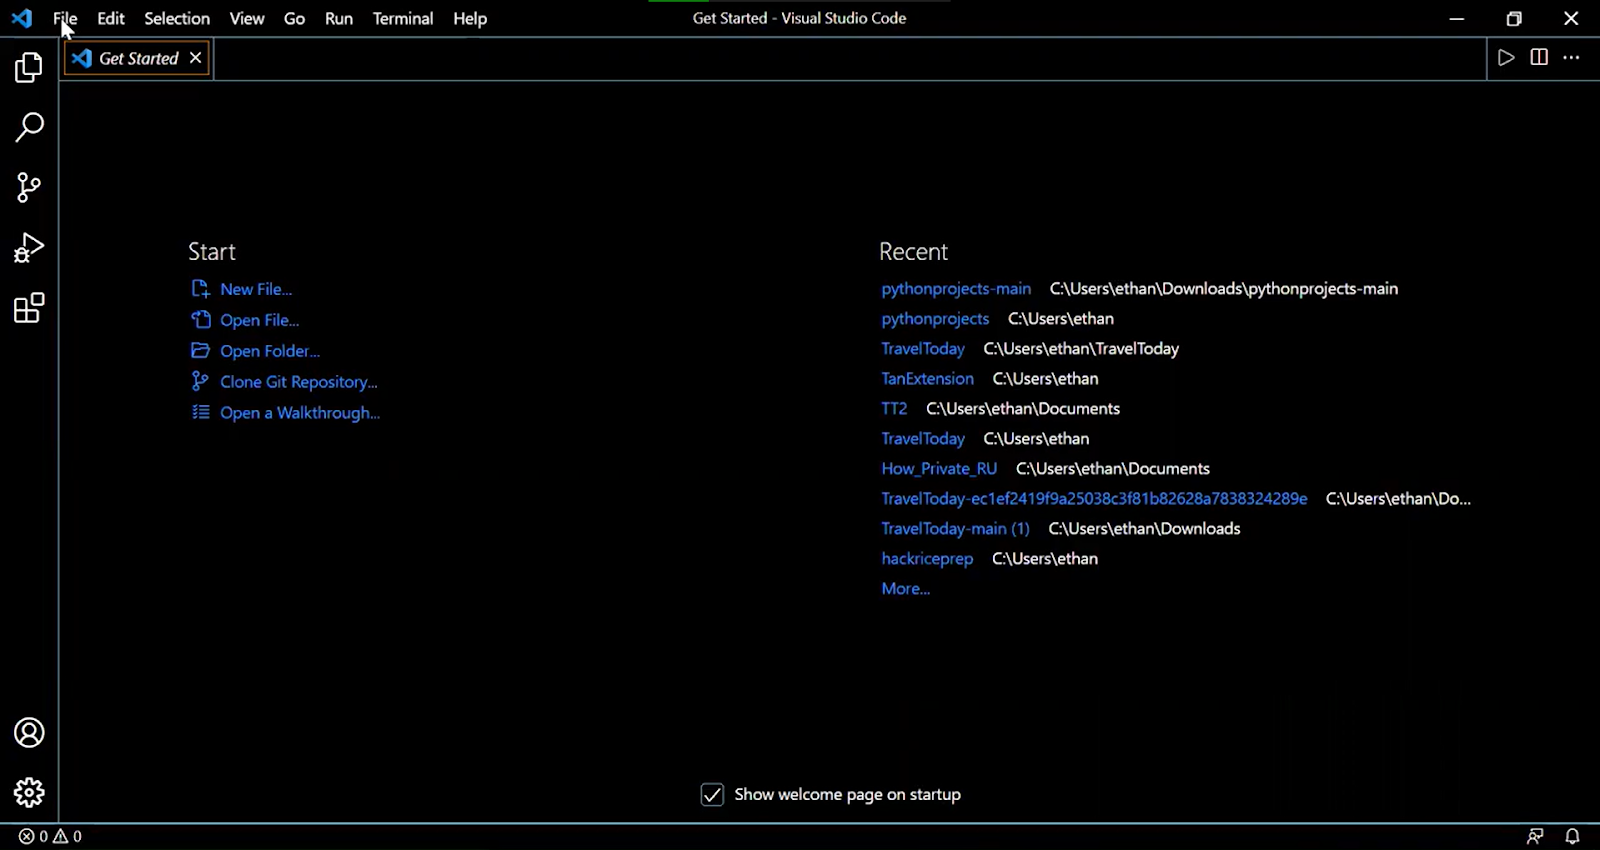
On the top left, select 'File' and then 'Open Folder'
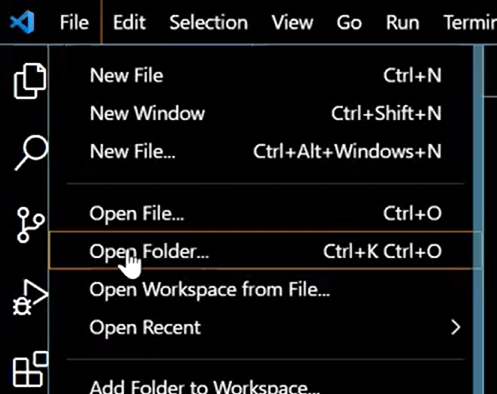
Create a new empty folder in your computer's file system, and then open that folder.
After opening an empty folder, the top left of your screen should look like this:
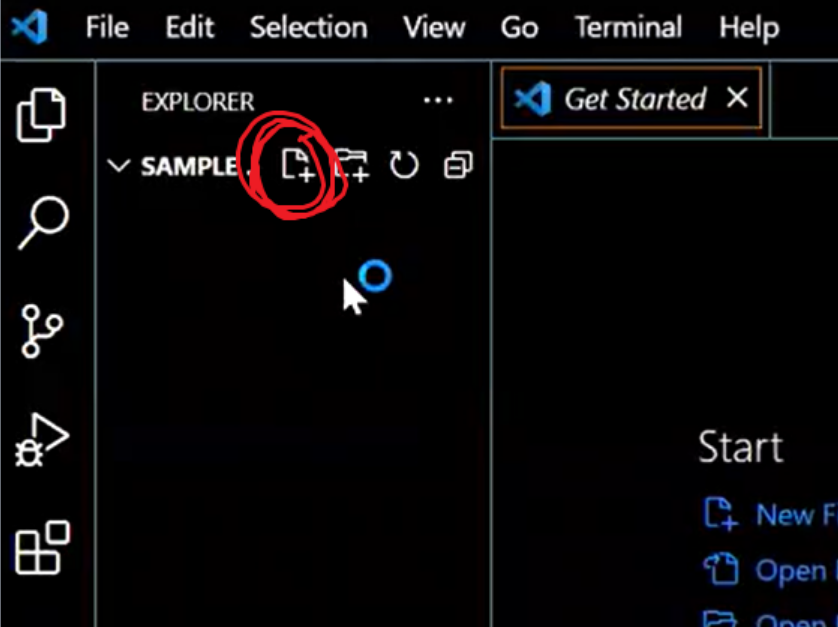
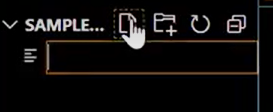
Click on the icon I circled above to insert a new file. When prompted, type out the name of your file (specify the file type as well) then press enter.
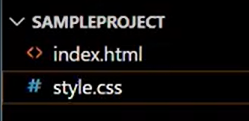
Manually add the following files to set up your first Javascript 1 project:
- index.html
- style.css
- main.js (not shown in screenshot below)
As you add the files in, with the correct file type, you should see icons starting to show up next to each file you add, like in the screenshot below:
Running Projects in VSCode
You should notice your index.html file is empty. We can add in the minimum necessary code for a web page like this:
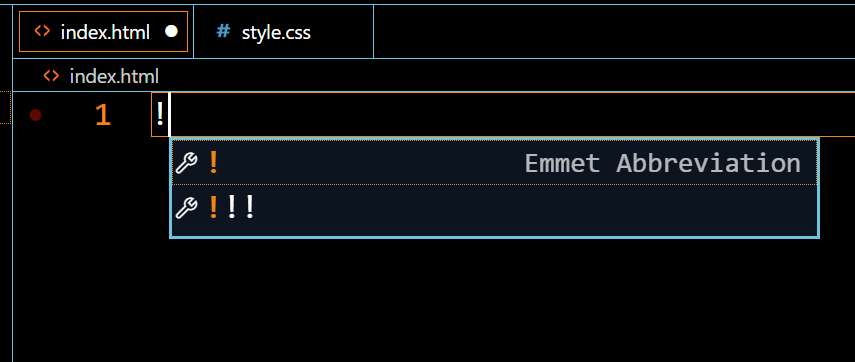
Type the '!' symbol, then press enter (this is actually the first Emmet abbreviation the student can learn!) You'll get the minimum HTML code needed. I have also reproduced it below, if that is more convenient for the students.
To make it more obvious the code is functional, add any text (like Hello World!<body></body>
Now while we could typically run your webpage in VSCode using the 'Run and Debug' button on the far left of the screen, I have found that for unknown reasons, this button will eventually stop working as intended and fail to load even the local html in your project. A more reliable solution is shown below:
You will need to
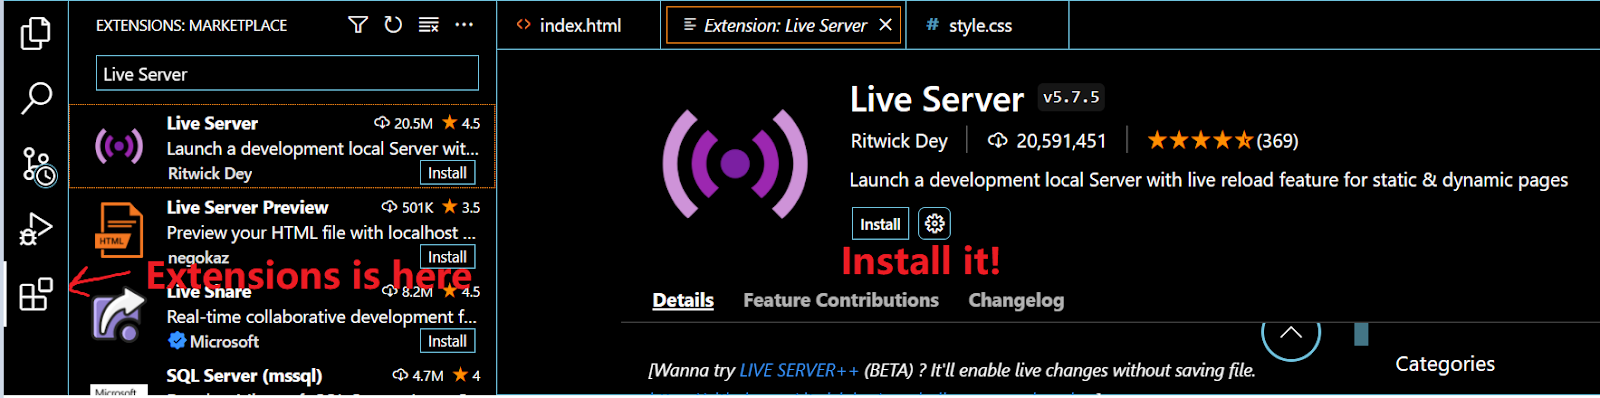
- Go to the "extensions" tab on the far left (the icon that looks like a Hershey's chocolate bar).
- Search for "Live Server" by Ritwick Dey.
- Hit 'Install'.
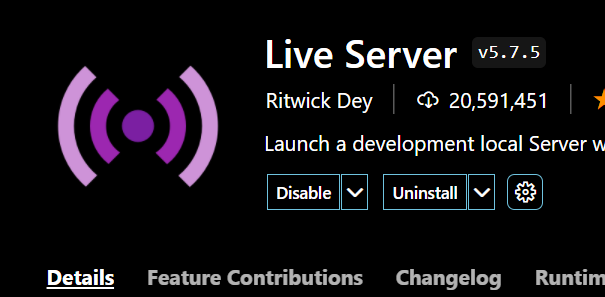
NOTE: Installing is NOT the same as Enabling! By default VSCode should enable Live Server upon installation but you may need to manually enable if this somehow isn't the case.
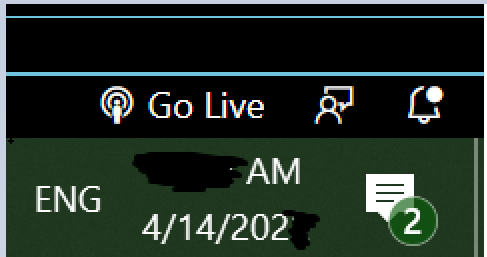
Running Live Server
Pay attention to the "Go Live" button that has now shown up on the bottom right of the screen. Click on it!
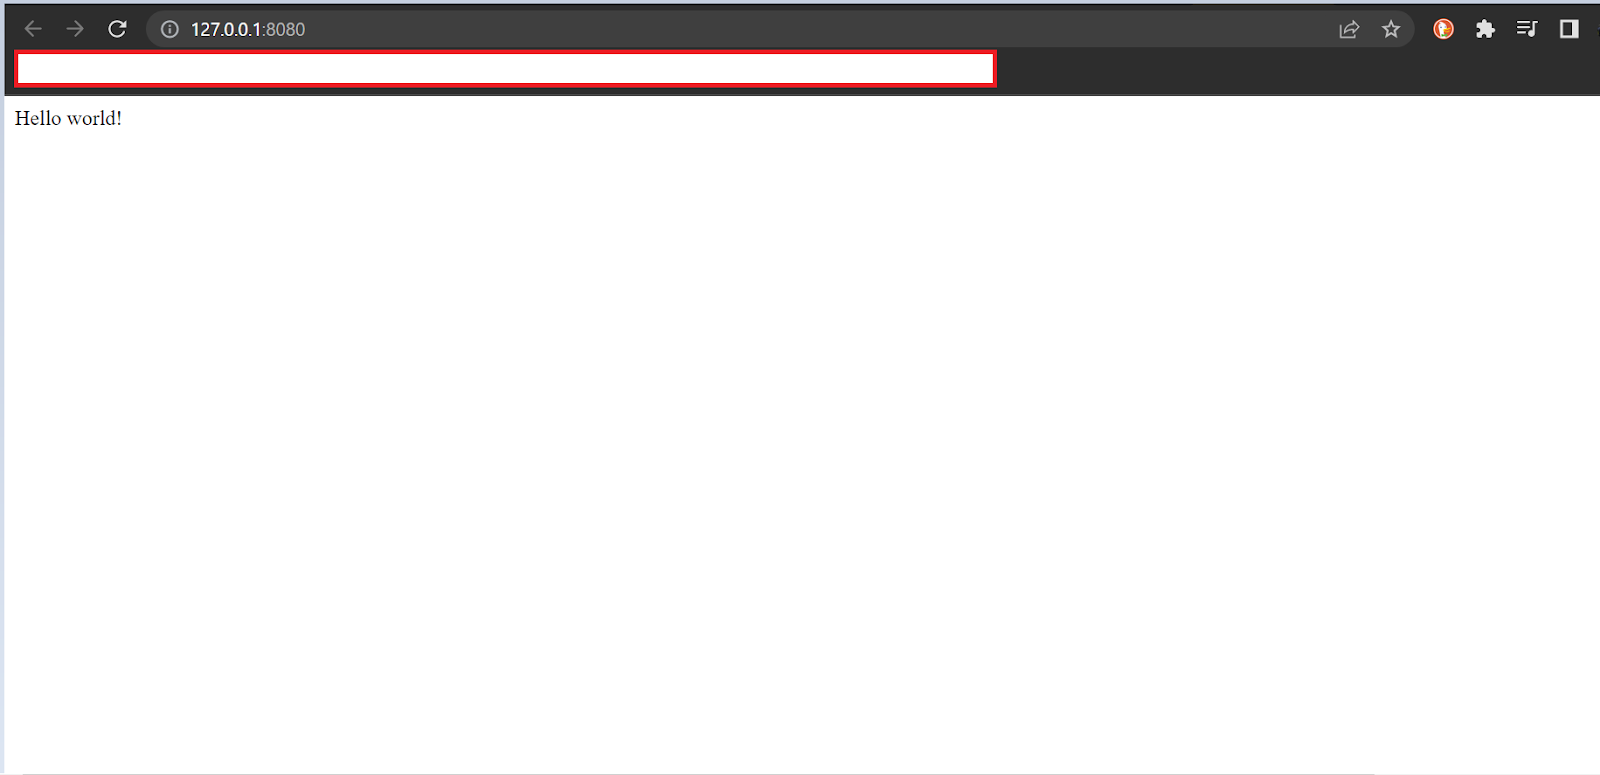
And your webpage should show up now!
One interesting quirk with Live Server is that while you will eventually need to manually close the server:
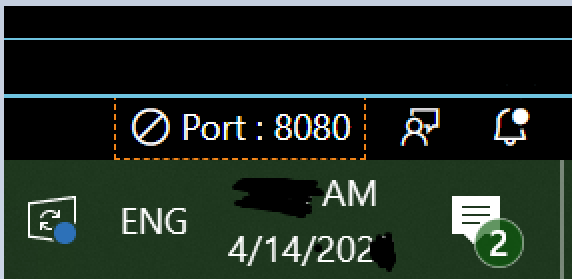
you DO NOT need to close/reload the server if you're testing changes to any of your files. On Chrome, your page should refresh automatically as you change up any relevant files.